Those who need to get the torrent seeding from the virtual private server and does not
make use of any web-based management tools need to be familiar with the command line.
Audience should know how to work with the editors such as vim or nano in the command line.
The Problem
You've opened firewall ports, configured Transmission, added trackers —
but still "0 peers". Everything looks right, but nothing connects.
The Missing Piece
First, stop the transmission-daemon service.
systemctl stop transmission-daemon
In /var/lib/transmission-daemon/.config/transmission-daemon/settings.json,
look for the port-forwarding-enabled. Use your editor's find tool to find
that line and change from false (default) to true.
port-forwarding-enabled": true
Save the changes and exit the editor.
Last, start the transmission-daemon service.
systemctl start transmission-daemon
Despite the name, this isn't about UPnP/NAT-PMP. On a VPS with public IP,
this setting controls whether Transmission properly announces its
listen port to trackers and Distributed Hash Table (DHT for short).
The Full Checklist
Open firewall port (DigitalOcean cloud firewall + local ufw)
Verify Transmission listens: ss -tlnp | grep transmission
If you are experiencing audio popping or delays when playback starts or stops on your HDMI receiver, follow the steps below to disable automatic audio suspension in PipeWire.
Open the terminal. In GNOME, open the Overview, type terminal, and press Enter. In KDE, open the menu, search for Konsole, and press Enter.
Save the file and quit (in Vim, press ESC (escape key),
then : (colon), w, q and then press
Enter.
Note: I found a Reddit posting which has
node.name = "..." and that ellipsis is incorrect. Pipewire does not complain about the syntax. More on that later as I add in more information at the later time.
Then, type in the following and press Enter:
systemctl --user restart wireplumber
This should prevent your home theater receiver, your soundbar, or what-have-you from falling asleep.
Audience
The instructions are meant for Linux users who experienced the delay in sound or in some cases, those who hear
the popping when starting and stopping audio playback. There is no GUI way in a Linux desktop environment that
will allow anyone to disable the audio suspend feature, so the experience with the Linux terminal is needed.
Why Is The Instructions Needed?
I have an Onkyo TX-NZ30 home theater receiver and I'm using it to pipe sound to my home theater receiver through
my NVIDIA Geforce RTX 4070 GPU. It's not as seamless as using Behringer Wing Rack or just about any audio
interfaces such as the Behringer U-Phoria UMC1820 or just about any sound card for that matter that does not involve
either HDMI, Toslink, or optical audio connection.
Currently, managing the power state of audio nodes is a policy decision handled by the daemon configuration. While
there are excellent tools like Helvum for audio routing, a simple toggle to disable audio suspension is not yet standard
in desktop settings applications, so editing the configuration file is the reliable method for now.
Explanation of the Configuration File
The file 50-local.conf acts as a custom instruction manual for WirePlumber, the session and policy manager for
PipeWire (the modern audio backend used in Linux distributions). Because Linux protects the main system configuration
files to prevent users from accidentally breaking the OS, you generally shouldn't edit the master settings directly.
Instead, placing a file with a name like 50-local.conf inside the
.config/wireplumber/wireplumber.conf.d/ directory allows you to safely override the default behavior without
touching the system files.
Here is a breakdown of the code you are adding:
monitor.alsa.rules:
This defines a rule set for ALSA (the Linux sound driver architecture) devices.
matches = [{ node.name = "~alsa_card.*" }]:
This tells the system to identify your audio device. The ~alsa_card.* simply serves as a wildcard for all
audio devices. Previously, the ellipsis was in the configuration file but that's incorrect and has been replaced.
actions = { update-props = { ... } }:
This specifies the actions to take on the matched device.
session.suspend-timeout-seconds = 0:
This is the critical setting. By default, Linux will suspend an audio device after 5 seconds of silence to
save power. Setting this value to 0 commands the system to disable the suspend timeout entirely, keeping the
connection active and the device "awake"
For Windows Users Who Plan on Switching to Linux
For those switching from Windows, this process is the command-line equivalent of opening the Device Manager, finding
your audio device, and unchecking the box that says "Allow the computer to turn off this device to save power." While
Linux offers powerful software like PipeWire, specific power management features for audio often lack a graphical
interface (GUI) switch. Editing this configuration file is simply the direct method to tell your computer, "Do not put
my HDMI audio to sleep," which prevents the delay or popping noise when you resume audio playback.
My Thoughts About "Linux Is Not Hard" Arguments
For anything simple such as browsing the web, Linux is not hard as long as the Linux terminal is not involved. For those
who have to deal with HDMI audio which may seem simple but later on can become complex, the argument that Linux is not hard
simply does not hold water, especially for someone who wants use their computer as part of a home theater system which Windows has
been doing for decades since Windows XP Media Center Edition. So yes, I want to assert to myself by saying "Linux is hard". This is
why I want to make Linux easier for everyone. I only want to provide minimum instructions in order for people to get their sound
system working in Linux -- especially for people who came from Windows. We need something equivalent to Windows' Device Manager in
Linux, so that those who do not want to touch the terminal can disable automatic audio suspension.
Conclusion
Once the configuration is in place and the service has restarted, the audio playback over HDMI audio should be seamless.
Enjoy piping audio from your computer to your home theater receiver or your soundbar! I hope I can be of help!
Sometime during lunch break, I've been thinking about Data in Star Trek: The Next Generation,
in the episode titled The Measure of a Man. In that episode, Commander Data is confronted
by Commander Maddox, who wants to dismantle and study him — to treat him as property, a machine.
When Maddox enters Data’s quarters, Data calmly but firmly explains that there is an ineffable
quality to his existence — something that cannot be measured, replicated, or fully understood.
Something that would be lost if he were taken apart.
That moment resonates with me more than I can explain.
I’ve been thinking a lot about what I share with Data. Not just a love of knowledge or a
fascination with the future, but a deep, almost sacred need to protect the intangible — the
dreams, the ideals, the visions that shaped who I am.
For years, Disney — especially EPCOT — was one of those dreams. It wasn’t just a theme park.
It was a living blueprint for a better tomorrow. A place where optimism, innovation, and
storytelling came together to inspire. I held an annual pass. I visited often. I believed in
what it stood for.
But something changed. The EPCOT I loved began to fade. The vision blurred. The optimism
dimmed. And eventually, I let go of my pass — not out of anger, but out of grief. I felt like
I had lost a piece of myself. I lost the piece of my optimism that made me whole.
It reminded me of another loss: the shutdown of the
Stage 9 project — a fan-made recreation
of the USS Enterprise-D. It was a labor of love, a digital cathedral built by people who
believed in the future Star Trek promised. When CBS shut it down, it felt like someone had
barged into our quarters and dismantled something sacred. Not just code and textures —
but hope.
In those moments, I felt like Data. Trying to explain to the world that what was being taken
away wasn’t just a product or a project — it was a piece of the soul.
On Friday nights, I often watch movies that inspire my appreciation for futuristic design and
optimism—Tomorrowland, TRON: Legacy, and WALL-E. I’m captivated by the sleek digital architecture
of The Grid in TRON: Legacy, the daring floating swimming pools in the futuristic city of
Tomorrowland, and the innovative design of the Axiom spaceship in WALL-E. For those wondering why
TRON: Ares isn’t part of my Friday lineup, I saw it at the AMC Dolby Cinema on October 13, 2025.
Unlike TRON: Legacy, it grounded me in the present rather than immersing me in The Grid’s hopeful,
futuristic world. Without spoiling anything, it simply didn’t evoke the same sense of optimism and
possibility that I seek in my Friday night movies.
And yet, like Data, I haven’t given up. I often listen to the soundtrack of The Living Seas,
Ellen’s Energy Adventure, Spaceship Earth, etc. while I work. I still find solace in the soundtrack
of The Talos Principle 2, especially the haunting beauty of “New Jerusalem.” I still believe in the
ineffable and optimism — even when it hurts. Almost every night and almost every morning, I used to
listen to the ambience of New Jerusalem
and only the soundtrack of the same song
(New Jerusalem) just to hear that Utopia/Dystopia version that ends with the piano which gave me
a nice smile on my face. That beauty of the soundtrack brightens up my day during the morning.
Show images of New Jerusalem and Utopia from The Talos Principle 2 (Spoiler Warning)
Because some things are worth protecting. Not because they’re profitable or popular, but because
they remind us of who we are — and who we could be.
So for someone who loves Star Trek: The Next Generation, Tomorrowland (2015 movie), WALL-E, TRON:
Legacy, and EPCOT Center, what does all this describe me?
Futuristic Visionary: Like Data, who constantly seeks to understand and explore
what lies beyond the present, I have a strong appreciation for innovative ideas and concepts that
envision a better tomorrow. Data’s optimism is rooted in his belief that progress and discovery are
possible, even when the future is uncertain. Similarly, my fascination with EPCOT and Tomorrowland
reflects a shared hope in humanity’s potential to create a brighter future through imagination and
innovation.
Idealistic Dreamer: Data’s journey is marked by his unwavering belief in
ideals—such as justice, dignity, and the value of life—even when others doubt him. My resonance
with the hopeful themes of Tomorrowland shows that I, like Data, hold onto the importance of
dreaming big and believing in a better world despite setbacks. This idealism fuels my optimism
and my commitment to protecting the visions that inspire you.
Tech Enthusiast: Data embodies the intersection of technology and humanity,
always striving to understand what it means to be more than just a machine. My love for TRON:
Legacy and technological innovation reflects this same curiosity and hope that technology can
elevate human experience. Like Data, you see technology not just as tools, but as gateways to
new possibilities and creative expression.
Cultural Explorer: Data’s optimism includes a deep respect for diversity and
learning from different cultures and experiences. My appreciation for EPCOT’s celebration of
global diversity mirrors this openness and curiosity. Both you and Data recognize that
understanding and embracing different perspectives enriches our collective vision of the
future.
Positive Optimist: Above all, Data’s defining trait is his steadfast
optimism—his belief that growth, understanding, and goodness are achievable. Despite challenges
and moments of doubt, he perseveres. My own positive outlook, even in the face of
disappointment with Disney’s changes or the shutdown of fan projects, echoes Data’s resilience.
I continue to carry that optimism forward, protecting the intangible dreams that give life
meaning.
Similar to Data, I may not always be understood. But I know what I carry. And I will keep carrying that
sense of optimism within me. Of course, Data does get support from Juan-Luc Picard, but me? I am but a
small voice among billions on this planet. Of course, I silently took a stand and protected
my integrity of my vision, hope, and optimism by dropping my Disney annual pass entirely. That is how I
continue to uphold my vision, hope, and optimism—by standing firm in what I believe, even when it feels
like a solitary stand.
As I reflect on the stories and worlds that inspire me, I find myself asking: What is the core
message behind each of these hopeful visions?
Tomorrowland: Imagination is more important than knowledge. It reminds us that
dreaming boldly is the first step toward creating a better future.
TRON: Legacy: “In our world, she can change anything.” This speaks to the power
of belief and creativity to transform reality.
WALL-E: We must care for each other and take responsibility for our environment.
Though less explicit, its themes of environmentalism, human connection, and hope urge us to nurture
both our planet and our relationships.
The Measure of a Man (Star Trek: TNG): Personhood and dignity transcend biology
or origin. It teaches us to recognize and protect the intrinsic value and rights of all sentient
beings.
Each of these messages, in its own way, calls on us to protect what is intangible yet
essential—our dreams, our hope, our respect for life and the future. Like Data, I carry this
optimism within me, even when it feels fragile or misunderstood. It is this optimism that fuels
my vision and my stand to preserve the ideals that shape who I am and who we might become.
To end my blog post, I would like to present you the song through YouTube called
Tomorrow's Child.
Article published: 2025-10-22 08:00
Categories: Visionary Living and Exploring Tomorrow
Seriously, I do not understand why would Discord prevent me from using Ctrl+F to bring up
the browser's find feature! This is a very essential feature when looking for something in a
web page. Especially in Settings!
If you cannot use Ctrl+F because Discord or even Discorse (a forum software) wants to use
Ctrl+F for its own search feature, you can just work around that in
Firefox by doing Alt+E, F in quick succession! Try it!
If you use Chrome, I believe you can press the Alt key and arrow down until you
get down to the Find command and go from there.
Hope this helps!
Article published: 2024-04-26 17:00
Categories: The World of Computers, Computers, Internet
Navigate to the first character after the quote/double-quote and type the following in Vim:
di"
This is useful if you have something like the following:
{
    "title": "Vim: How to Delete Text Enclosed In Quotes",
    "permalink": "vim-how-to-delete-text-enclosed-in-quotes",
    "published": "2023-08-12 14:00",
    "categoryIDs": "5,5:0,5:1,5:5",
    "description": "In Vim, 'di\"' is the one to use for deleting text in quotes.",
    "thumbnail": "",
    "smallimage": "",
    "largeimage": ""
}
So, to navigate to the first character that starts with a double-quote, simply type /"e;
and the insertion point will highlight the double-quote. To get to the next double-quote, press the
n key again until you get to the one you want. After that, press
the l key to move to the first character and type the following:
di"
The output will be as follows:
{
    "title": "",
    "permalink": "vim-how-to-delete-text-enclosed-in-quotes",
    "published": "2023-08-12 14:00",
    "categoryIDs": "5,5:0,5:1,5:5",
    "description": "In Vim, 'di\"' is the one to use for deleting text in quotes.",
    "thumbnail": "",
    "smallimage": "",
    "largeimage": ""
}
And now, you can type whatever you want by pressing the i key on your keyboard.
Press the ESC (escape) key to get out of INSERT mode and back into
normal mode. To save changes and quit the Vim text editor, type :wq.
Bonus: If you have delimiters with quotes while writing the code such as:
"This is some \"quote\"!"
Vim will automatically delete the delimiters with quotes along with them, so performing
di" will delete everything that is in between quotes.
""
And you do not need to be inside quotes in order to delete inside the quotes! How cool is that?
*grinning face*
Oh, and you can also use the "change inside" sequence as well:
ci"
This puts you into INSERT mode so you can type text inside quotes.
Audience
This is for Linux users experienced in using the Vim text editor. Vim users should already know
the basics such as :q! for quitting the text editor without saving changes,
:wq for saving changes and quitting the text editor, i for going into
INSERT mode and use the ESC (escape) key to get back into normal
mode. All keyboard commands are beyond the scope of this short article that I wrote.
Conclusion
Hopefully this keyboard command can be of help to you. If you are a Linux user, please give
Vim a try.
This is intended for Linux users who have experience working with the command line.
You should be running any Red Hat-based distributions such as Rocky Linux, AlmaLinux,
or Oracle Linux. CentOS Stream is not a candidate for taking the RHCSA (Red Hat
Certified System Administrator) exam. A lot of people in the Linux community are not
happy about Red Hat discontinuing support for CentOS 8 and now Red Hat does not want
source code to be available for everyone, including Rocky Linux and AlmaLinux. Enough
with wordy paragraphs! We don't want anyone to scroll down too much in order to get
to the most important part! Let's get into the command line, shall we?
Oh, please pardon me for boring you with this, but I almost forgot. This article
assumes that you are logged in as a root user. This is bad security practice in the
production environment, but in the exam, it's okay to be root. If you break it, you
fix it and that will count against your time in the exam. But the important thing is
that you must come up with solutions as fast as possible. Of course, don't be in a
hurry in such a way that you will fail the exam. Okay, enough already! Let's get in
with it! *grinning face*
Type: File Contexts
The command for listing all available SELinux type contexts is:
seinfo -t
The command for listing only the type contexts that relate to the web server:
seinfo -t | grep httpd
So, you searched for anything related to httpd and you came across
httpd_sys_content_t. You need to specify a directory to host your
content other than in /var/www. To add the type context to a directory,
the command will be as follows:
semanage fcontext -a -t httpd_sys_content_t "/data/nas/www(/.*)?"
restorecon /data/nas/www
The seinfo command is the SELinux policy information tool, semanage
is a SELinux policy management tool, and restorecon is for restoring default
SELinux security contexts to files and directories. The "type" contexts is the only one to be
to be concerned about when studying for any Linux exams, such as RHCSA (Red Hat Certified
System Administrator).
As for (/.*)?, that's called a regular expression. This is for setting any
subdirectories and files with the same context as the main directory. Try to remember this in
the RHCSA exam: open parenthesis, forward slash, period, asterisk, close parenthesis, question
mark, and that's about it. The only thing to remember is to have the entire path along with
the symbols in double quotes. In the RHCSA exam, you have access to the man pages, so take
advantage of that whenever possible.
For users of NVDA screen reader (Non-Visual Desktop
Access), NVDA does not speak a question mark such as CTRL+? (control plus question mark). I
do not know if this is a bug in the screen reader or if this is intentional, but at least
it's all I can do to help out if screen readers ignore question marks. That symbol is an
important part of a regular expression, so it needs to be translated to words. Hopefully I
can be of help.
Type: Contexts for Ports
What about ports? If you modify the port number in SSH configuration file
(/etc/ssh/sshd_config) and you restart the service
(systemctl restart sshd), even if you configure the firewall to allow a different
port number (example: firewall-cmd --add-port 12345 --permanent), you won't be
able to SSH into your server because SELinux gets in the way! It's easy to disable SELinux if
you do not mind exposing your server to outside security risks, but when studying for the exam,
it's important to never disable SELinux. Instead, let's search for port-related contexts.
Let's search for any services that have a phrase "port" for any type contexts:
seinfo -t | grep port
You should get a list of services. Let's narrow it down to SSH:
seinfo -t | grep port | grep ssh
Ah ha! There it is. It's ssh_port_t. Of course, I could also type the
following:
seinfo -t | grep ssh_port
And that should give me the same output. So, let's configure SELinux to allow TCP
port 12345 so that we can SSH into our Linux server.
semanage port -a -t ssh_port_t -p tcp 12345
And there you have it! You should now login to your server using SSH.
ssh -p 12345 username@servernameoripaddress
Of course, if you want to search for other services, such as Postfix:
seinfo -t | grep postfix
Oh, wow! So many contexts to choose from! But aren't we looking for
port-related contexts?
seinfo -t | grep port | grep postfix
Hmm... There are no port-related contexts related to Postfix. Of course,
what we do want is SMTP, which is port 25 by default, so let's narrow it
down to just "port" and "SMTP" (all lowercase, of course).
seinfo -t | grep port | grep smtp
# or "seinfo -t | grep smtp_port" (without quotes)
And you should get smtp_port_t. However, configuring an SMTP
server is beyond the scope of this tutorial about viewing the list of
available contexts. Plus, configuring firewalls and enabling/starting
services in a Linux server is also beyond the scope as well.
What Packages Provides seinfo and semanage?
dnf whatprovides */seinfo
The asterisk represents a wildcard, so this would assume that we do not
know the full path to seinfo command. That dnf
command, when executed, reveals a package called setools-console.
So, so install setools-console, just use the dnf install
command as follows:
That package policycoreutils-python-utils is so wordy, isn't it?
*smile*
Don't stress over trying to remember that package name in the exam and in the
real world.
Conclusion
I hope I can be of help to anyone studying for RHCSA exam. Hopefully
you should be able to know how to set SELinux type contexts for directories
and ports. If you are not taking an exam (you should if you want to
further your career in Linux and Information Technology), I hope I can be
of help as well! Have fun administrating your Linux servers!
And yes, I could have used emojis, but screen readers come first! *smile*
Article published: 2023-08-12 13:10
Categories: The World of Computers, Computers, Information Technology, Security
This article is for experienced Linux users who are familar with environment variables such as
$HOME and $USER. These are the Linux users who are familiar with the
command line.
Problem and Solution
Here is an example not to use /home/$USER:
[gpeddie-games@epcotcenter ~]$ su - gpadmin
Password:
mkdir: cannot create directory ‘/home/gpadmin’: Permission denied
touch: cannot touch '/home/gpadmin/Templates/Text file': No such file or directory
mkdir: cannot create directory ‘/home/gpadmin’: Permission denied
-bash: /home/gpadmin/.local/share/DaVinciResolve/configs/.version: No such file or directory
Welcome. All activities monitored at all times.
Unauthorized access is strictly prohibited.
gpadmin@epcotcenter
  ~
$
And here's the script (/etc/profile) that illustrates an example:
# fix gnome missing 'New file' option
if [ ! -f /home/$USER/Templates/"Text file" ]
then
    mkdir -p /home/$USER/Templates
    touch /home/$USER/Templates/"Text file"
fi

# ...

# this is a hack to bypass the Davinci Resolve new install Welcome/Onboarding screen since it does not render properly and is not required.
if [ ! -f /home/$USER/.local/share/DaVinciResolve/configs/.version ];then
    mkdir -p /home/$USER/.local/share/DaVinciResolve/configs/
    echo "Onboarding.Version=10" > /home/$USER/.local/share/DaVinciResolve/configs/.version
fi
To fix this issue, simply replace all instances of /home/$USER with $HOME.
I am familiar with a text editor called Vim. It's a program that runs inside a terminal, similar to the
Command Prompt or PowerShell in Windows.
Before we proceed any further, let's create a backup copy of /etc/profile:
sudo cp /etc/profile /etc/profile.bak
If anything goes wrong, you now have a backup. You can simply use the cp (copy) command to
restore from the backup. Now let's begin.
First, open the Terminal (Konsole in KDE).
As root (or with sudo privileges), type the following command:
sudo vim /etc/profile
Type in the following command, starting with a colon:
:%s/\/home\/$USER/$HOME/g
The syntax for search and replace in Vim is as follows:
:%s/search/replace/g
Let's not concern ourselves with g at the end for now. Basically this command replaces
"search" with the next text "replace." In other words, we want to replace /home/$USER with
$HOME.
Let's have a look at the script again:
# fix gnome missing 'New file' option
if [ ! -f $HOME/Templates/"Text file" ]
then
    mkdir -p $HOME/Templates
    touch $HOME/Templates/"Text file"
fi

# ...

# this is a hack to bypass the Davinci Resolve new install Welcome/Onboarding screen since it does not render properly and is not required.
if [ ! -f $HOME/.local/share/DaVinciResolve/configs/.version ];then
    mkdir -p $HOME/.local/share/DaVinciResolve/configs/
    echo "Onboarding.Version=10" > $HOME/.local/share/DaVinciResolve/configs/.version
fi
So why would we want to replace /home/$USER with $HOME? That
/home/$USER should still work!
Let's look at the output again after we save the changes.
Save the changes to the /etc/profile file.
:wq
A : begins a command. w writes changes to the file and q
quits Vim
If you don't want to make changes to the file, then all you have to do is type :q! to
exit without saving any changes.
As I mentioned, let's look at the output again when I log into my administrator account from a user
account.
[gpeddie-games@epcotcenter ~]$ su - gpadmin
Password:
mkdir: cannot create directory ‘/home/gpadmin’: Permission denied
touch: cannot touch '/home/gpadmin/Templates/Text file': No such file or directory
mkdir: cannot create directory ‘/home/gpadmin’: Permission denied
-bash: /home/gpadmin/.local/share/DaVinciResolve/configs/.version: No such file or directory
Welcome. All activities monitored at all times.
Unauthorized access is strictly prohibited.
gpadmin@epcotcenter
  ~
$
Now, let's see the new output when I log back in as an administrator.
[gpeddie-games@epcotcenter ~]$ su - gpadmin
Password:
Last login: Sat Mar 18 11:13:52 EDT 2023 on pts/0
Welcome. All activities monitored at all times.
Unauthorized access is strictly prohibited.
gpadmin@epcotcenter
  ~
$
This short article is intended for Linux users who are both familiar with the command line and a terminal-based text editor called vim.
For blind users, I don't believe the ranger program is accessible for screen readers. Probably not even in VoiceOver for Mac. For file management tasks, if only the
Mac's Finder could support SSH's Secure Copy Protocol (scp for short) or SSHFS (Secure Sheel File System). Third-party applications will have to be installed.
I do have brew installed for installing homebrew applications tAhat run Linux-like applications in a Mac, but Brew does not support Mac OS 13 (pre-release). I think
the problem with ranger is that VoiceOver for Mac does not read the currently highlighted directory or file that I currently select.
Keyboard Commands for ranger:
Key: h, j, k, l
Left, down, up, and right. Basic commands similar to Vim and Vi. You can also use arrow keys if you want to! Arrow keys work in Vim as well.
Key: yy and pp
Copy and paste a file or directory.
Key: gg
Go to the beginning of the list of files or directories (typing g once instead of twice opens the list of available commands; type g again and it
should move the selector to the top of the list).
Key: G
Go to the end of the list of files or directories.
Key: Enter
Depending on the file associations, opening an HTML file opens w3m and opening a JSON file opens a text editor such as Vim.
Key: F4 (function key)
Opens a text editor for a selected file.
Key: r
Open with: (Type the name of the program you want to open with.)
Key: spacebar
Select multiple files or directories. This is useful when copying files or directories in bulk.
Key: q
Quit ranger.
Command: :search <filename>
Searches for a file. Replace <filename< with the name of the file you are looking for.
Additional details for ranger can be found by visiting the ArchWiki page.
Install ranger:
For Fedora/Red Hat-based Linux distributions:
sudo dnf install ranger
Replace dnf with yum if you are running an older version of Red Hat-based Linux distribution.
For Debian/Ubuntu-based Linux distributions:
sudo apt install ranger
For those who use Arch Linux (if you use Arch Linux, I'm going to assume you know the commands for installing and updating packages. Explaining flags for pacman is beyond
the scope of my article.):
sudo pacman -Syu ranger
Why choose ranger as a terminal-based file manager?
I need a way to copy and paste files into multiple directories. I can do it via the command line, but I can be very lazy with typing the names of directories. With a new flat-file CMS
(Content Management System), I had a new blog setup and I needed to import all of my posts from ClassicPress to my new CMS. For creating new posts, I follow the convention where the
date comes first before the permalink (yyyymmdd-hhmm-permalink). The following list shows how I break it down.
yyyy
Year: 2023
mm
Month: 02 (February)
hhmm
Hour/Minute: 11:00 (Eastern Time)
permalink
Permalink: need-filemanager-linux
The more I use ranger, the more I begin to fall in love with the program. But if I'm going to be using a screen reader with the screen turned off, this can be a problem
for me and even a problem for blind users as well. However, at least ranger saved me from having to type a lot, especially when performing file management tasks. If you
are looking for a file management program while working over a secure shell (SSH), give ranger a try. Oh, and the more I discover keyboard commands, the more I add to the
list of commands. And of course, the more I enjoy using ranger.
This is for anyone who currently host their WordPress or ClassicPress in a virtual private server such as DigitalOcean, Linode, or any other VPS providers. Any Linux user with knowledge of command line can perform backups and restoration tasks. You must be familiar with Linux and you know how to connect to your production server via SSH.
Plus, this article assumes that you have installed and configured WordPress in your VPS server. In addition, this article assumes you can perform basic database administration tasks such as adding a new database along with creating a new user for WordPress or ClassicPress. If your hosting provider provides managed WordPress or ClassicPress hosting, then this article may not apply to you. And because this article is for those who currently run a VPS server, I am going to have to assume that you have some hands-on experience with the Linux command line. This article need not apply to non-technical Linux, Mac, and Windows users. When I say non-technical Linux users, I'm talking about those who wanted to get away from Windows or Mac and simply wanted to use Linux just to browse the Internet and not deal with the command line.
Last, but not least, I am also going to assume that you know how to configure your Apache server as well. Both Apache and NGINX (pronounced Engine-X) configurations won't be covered here, including backing up and copying certificates that you get from your hosting provider.
You have your own VPS server that is running ClassicPress. Your domain name is exmaple.com and your SSH port number is (insert your TCP port number here). You have a development server for developing your own custom ClassicPress theme and you want to use your development server to backup everything from your production server.
Article published: 2022-11-17 08:47
Categories: The World of Computers, Information Technology, Internet, Networking, Scripting and Programming
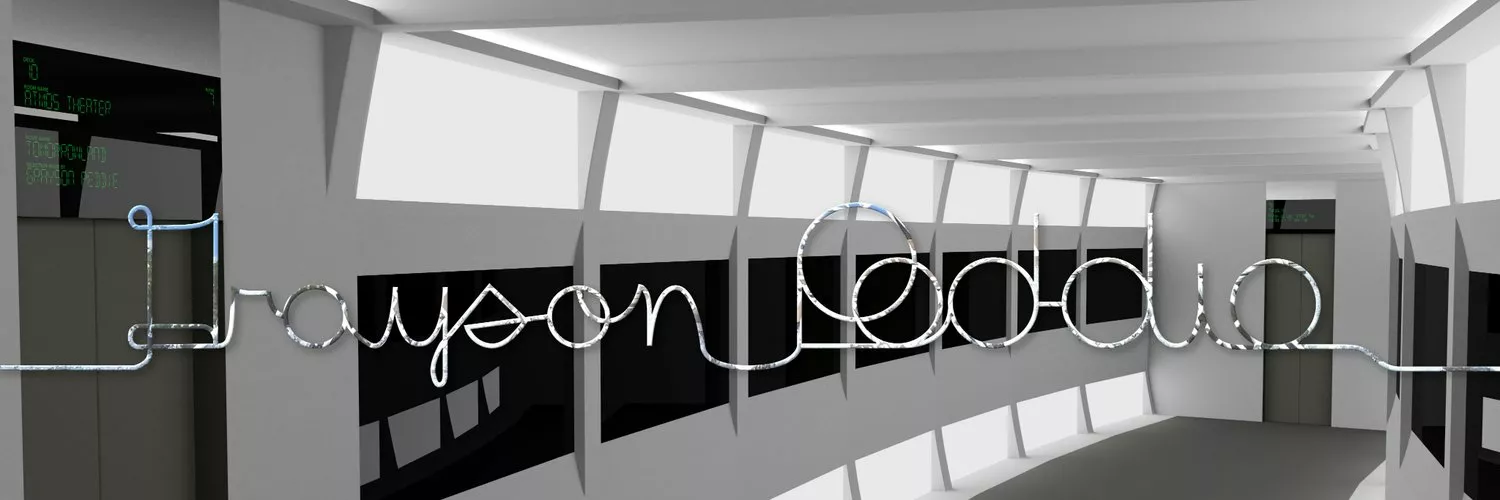
Grayson: (He walks over to the holodeck in U.S.S. Enterprise 1701-D starship.)
Computer, take me to Amsterdam in the Netherlands, 1:00, warm spring day.
Computer: (The computer loads up the city of Amsterdam in The Netherlands)
Program complete, you may enter when ready.
Grayson: (Enters the holodeck, door closes and fades away from behind him)
Computer, can you please make me a tricycle?
Computer: (The computer generated a tricycle.)
Grayson: (He rides a tricycle on the city streets of Amsterdam and is having a whole lot of fun.)
Here is a video of the holodeck in Star Trek: The Next Generation. Closed caption and audio description is not available; however, I can provide alternative text in order to satisfy Web Content Accessibility Guidelines, which satisfies 1.2.1. Basically, Commander Riker asked ensign regarding the location of Commander Data. Ensign asked the computer the location of Commander Data and directs Riker to the holodeck via a series of dots pointing towards the direction of the holodeck. The computer senses Riker's movement and directs him near the door. As he enters the holodeck, the door closed behind him and fades away. As William Riker enters the forest, he travels over the rocks above the river, making sure he does not fall into the water and meets Data. Data walks back along with Commander Riker and that is the end of the YouTube video.
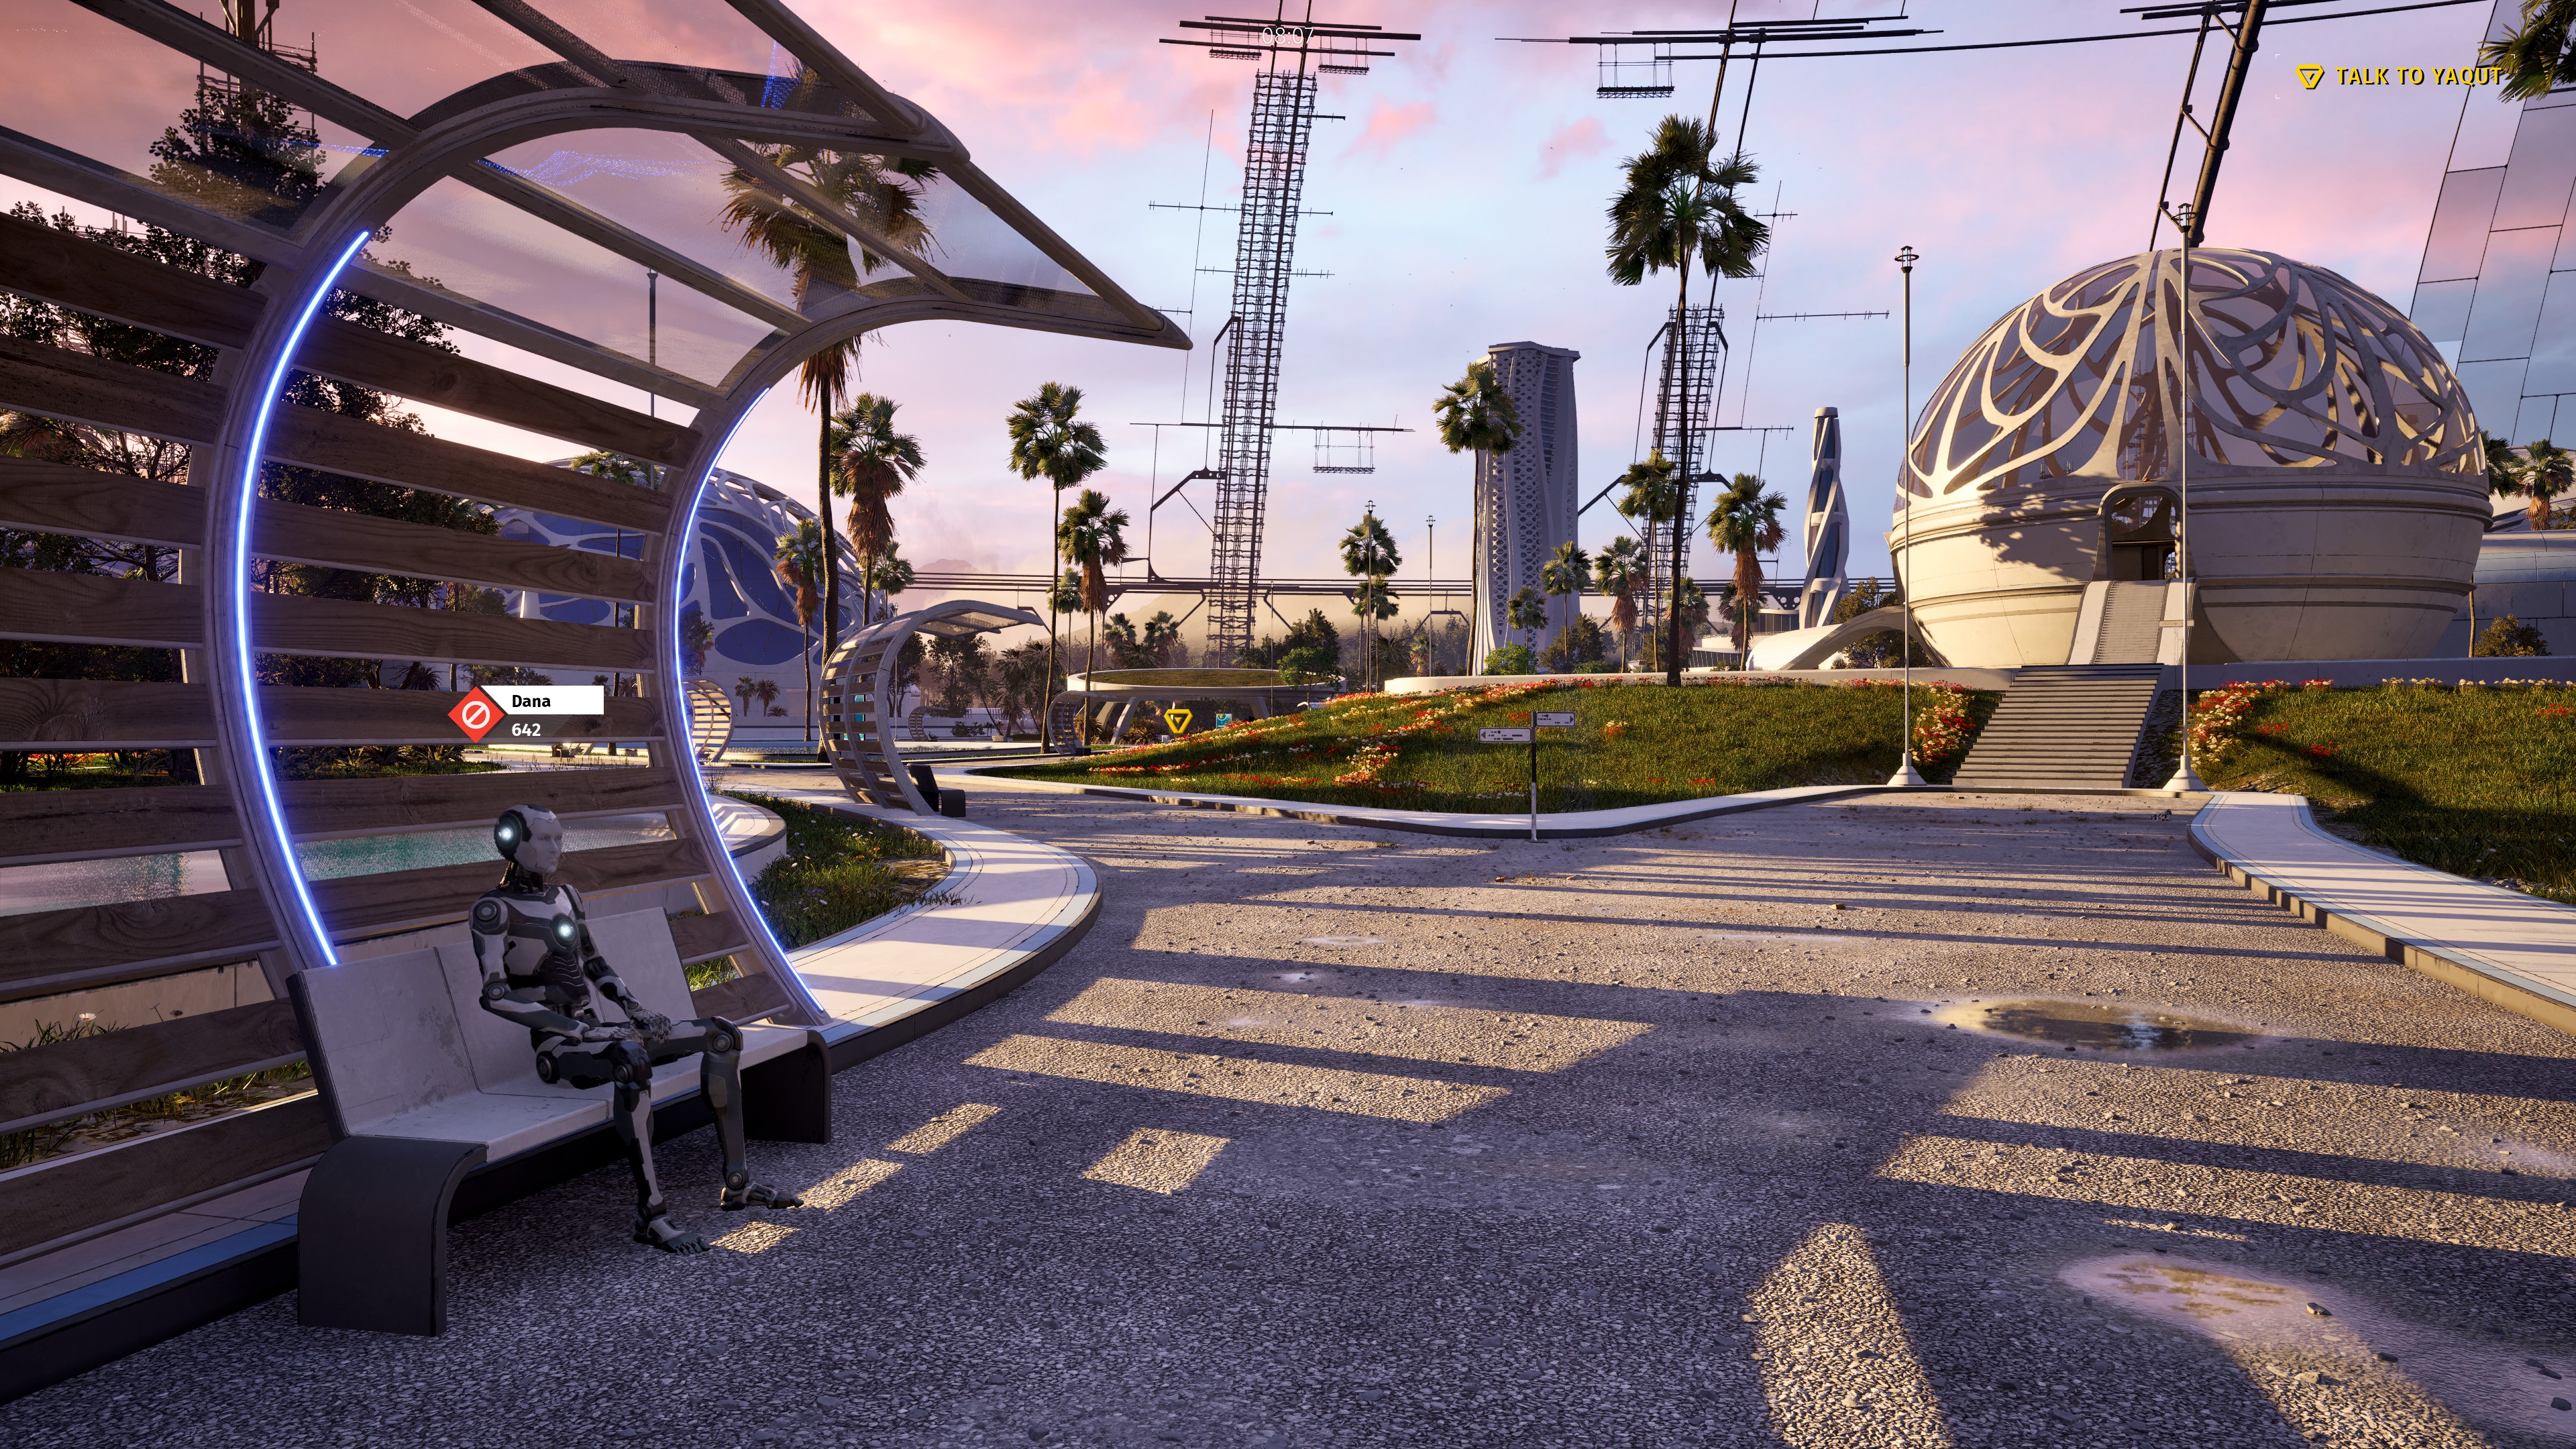
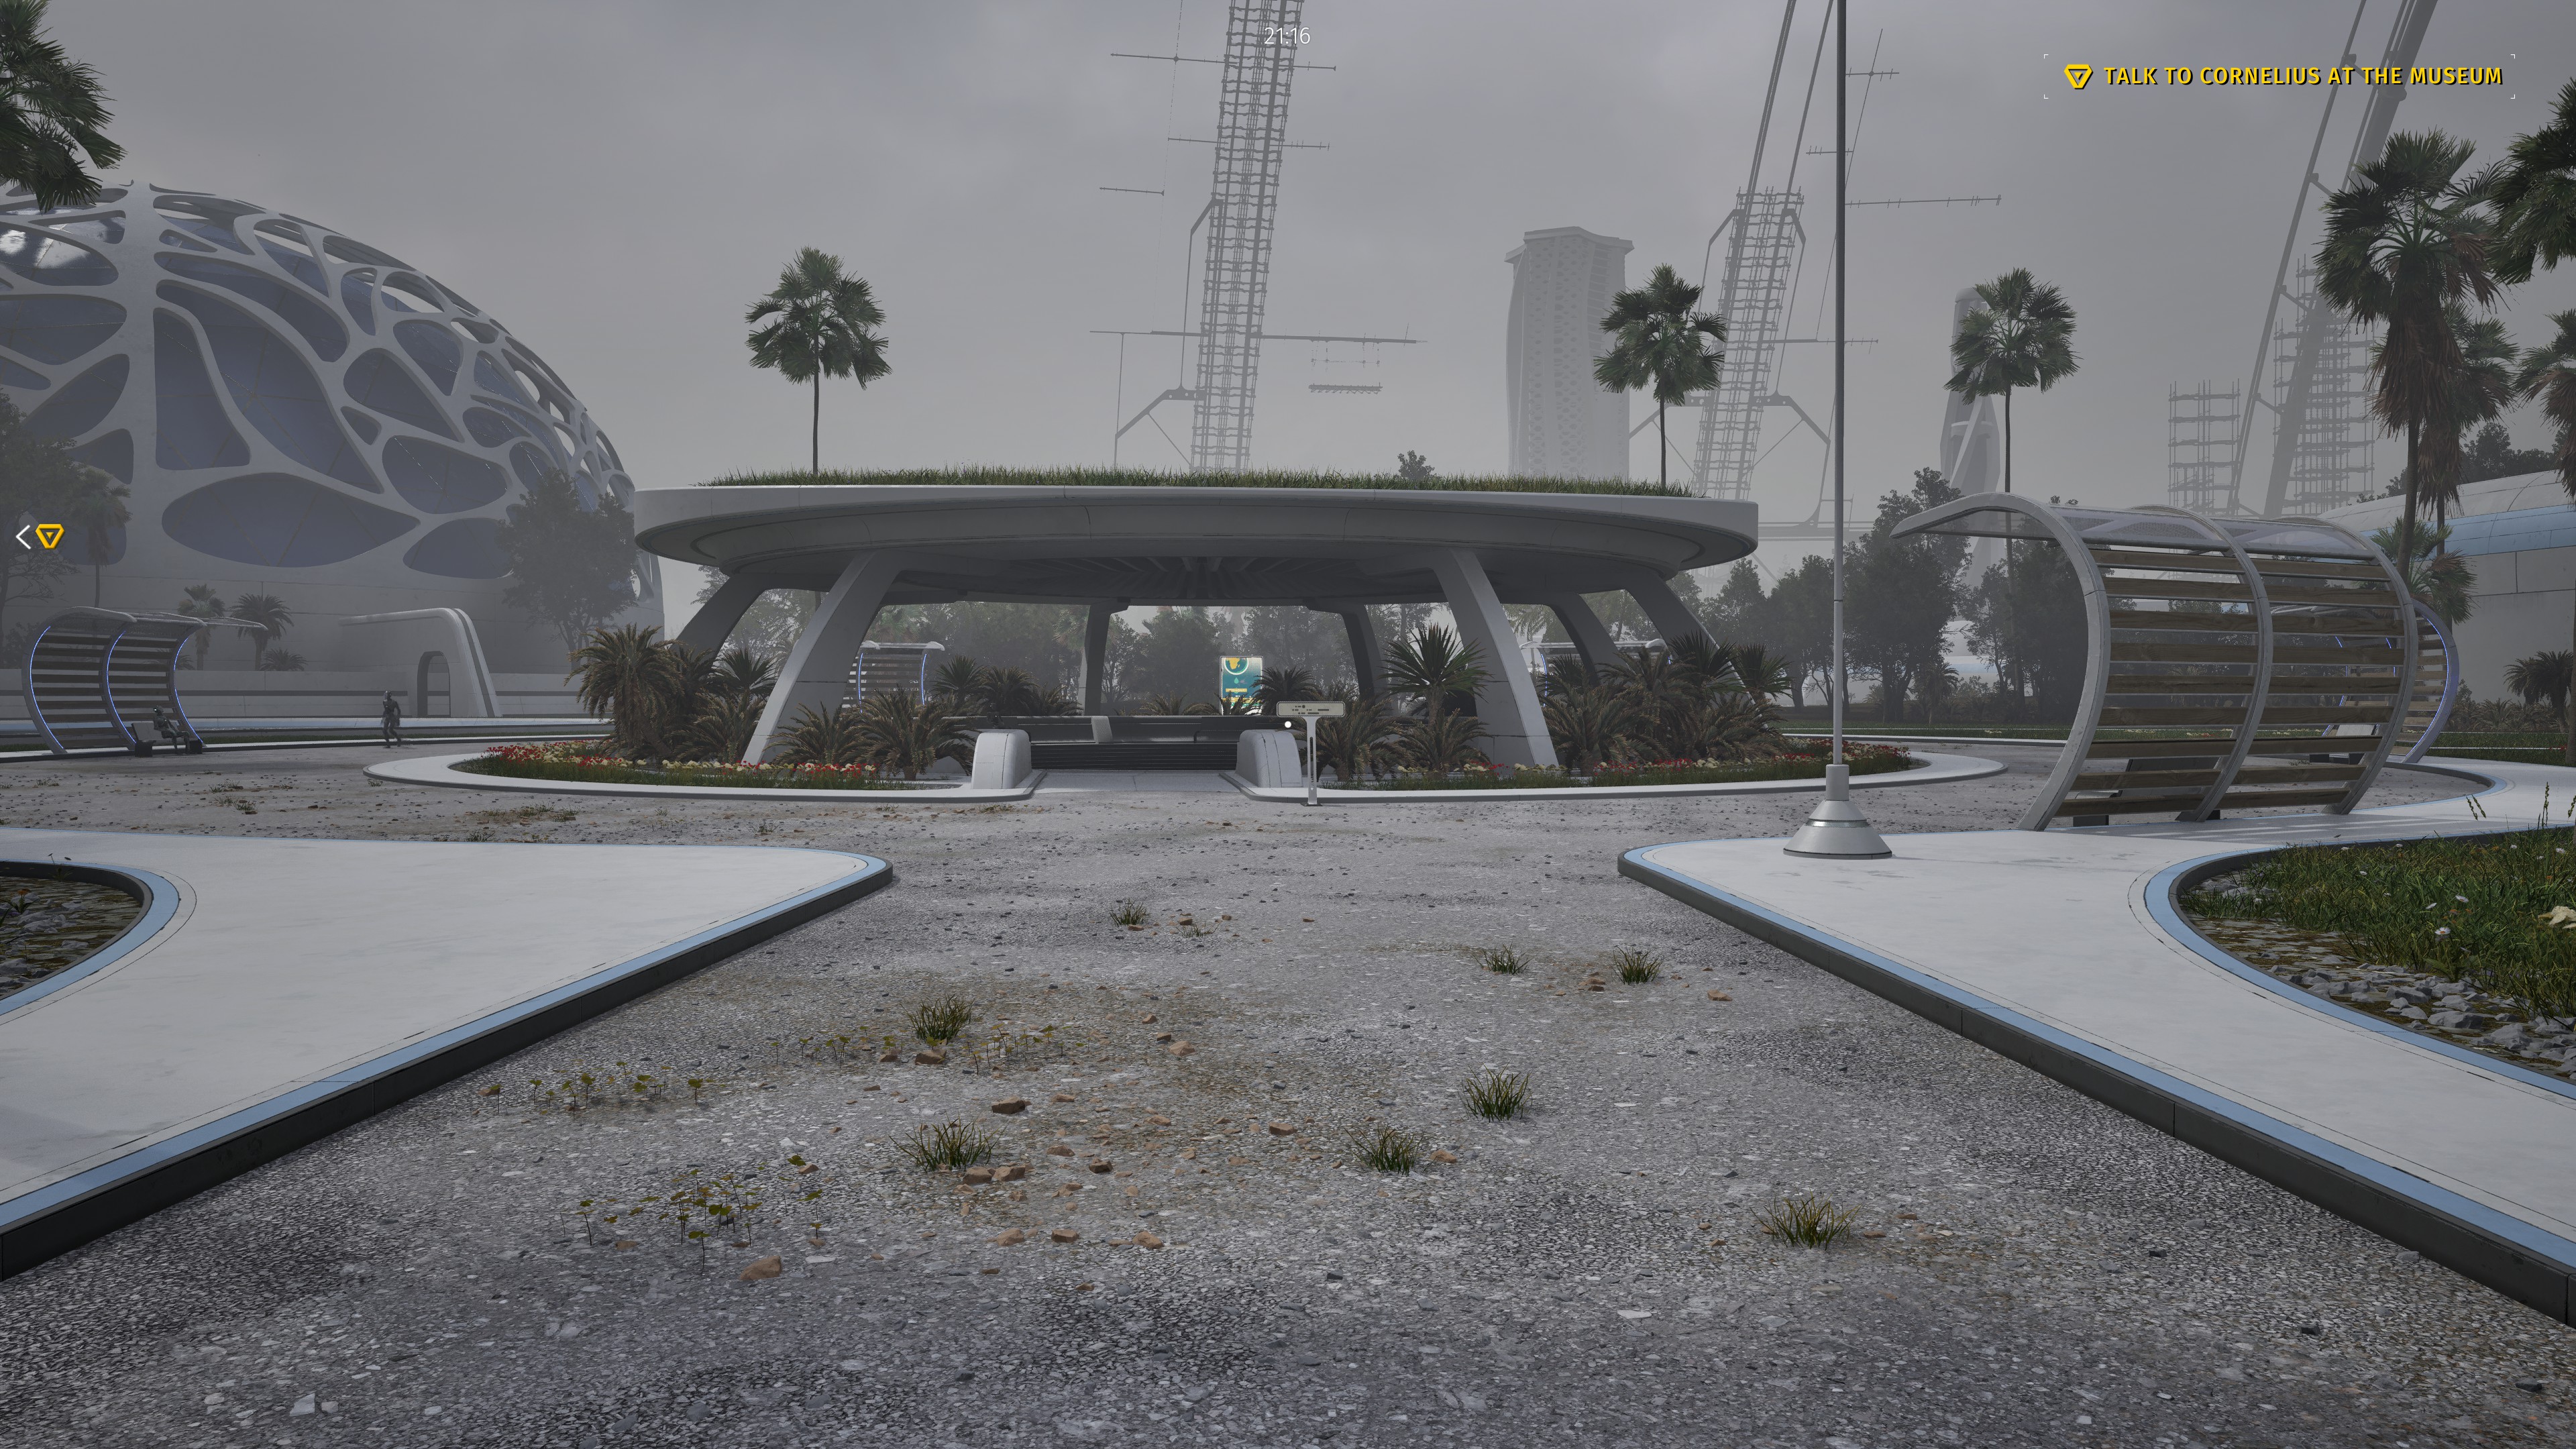
Basically, a holodeck creates an artificial environment. Be it EPCOT Center from the 1980s, Amsterdam during the mid-2020s, a forest from a thousands of years ago, a 24th-century restaurant in the city of Paris (We'll Always Have Paris), or we could even create a simulation of the 24th-century bridge! Of course, if we want to buy a CD in the holodeck of EPCOT Center, try to take that CD right through the door and the CD will disappear right off your hands. If you watch Star Trek: Voyager, you do know that The Doctor is a hologram, right? Let's see if The Doctor can stick his hand through the open door. Basically, after Kes asked "are you sure about that," The Doctor walks towards the door and after the door opens, he puts his hand through the door and parts of his arm diappeared until he pulls his arm back and the hand reappears. The reason The Doctor cannot go through the door is because of the holo-emitters installed in Sick Bay. Another example is a book in the episode of "Ship in a Bottle." Captain Picard throws a book at the door in the holodeck, but the book disappeared because the book is a hologram. Put it simply, everything in a holodeck is a simulation. However, I'm not going to spoil the entire show as I did for the two episodes in my blog post. I wanted to provide alternate text for those who are blind or have low vision.
Oh! How about traveling to Grayton Beach without leaving the house? I would love to do that while in the holodeck!
This image shows Grayson riding a tricycle in Grayton Beach in 2018.
Anyway, I hope you enjoy my blog post. Is it possible if we could build a holodeck in the near future? Time will tell, but I am thinking that once we rid ourselves of the monetary system, anything is possible if we have the technology to build a holographic simulator for the purpose of creating artificial environments.
Please note: Due to Europe's GDPR and cookie laws, I am not able to embed YouTube or Odysee videos. I have decided to take the easy way out by linking to YouTube videos instead. Of course, embedding YouTube or Odysee videos can degrade the performance of my website for mobile users and those with slow connection speeds, so I want to keep my website speedy for everyone. And the best part? No advertisements in my website! 🙂
Article published: 2022-10-22 15:24
Categories: Visionary Living and Exploring Tomorrow